When you discover photos on your SD card are corrupt you should:
- Do as little as possible (read: nothing) with the card.
- Do NOT run chkdsk on the card itself!
- Create a disk image of the card immediately!
There are free and payed ways to try to recover or repair your photos. So I’ll be showing an example of how you can do a JPEG repair using free tools such as the HxD hex editor, JpegSnoop and Paint.NET.
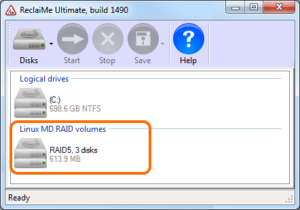
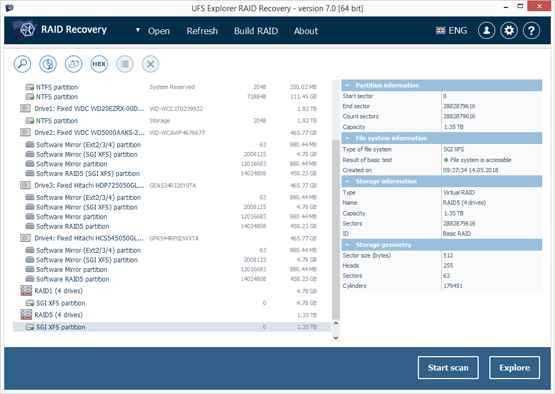
RAW disk image
To create a disk image use the free version of ReclaiMe or Win32 Disk Imager. Most serious data or file recovery software allows you to create such a ‘RAW’ disk image. In turn, a RAW disk image created with one software can be processed by other file recovery software as well. Avoid Stellar file or photo recovery software as they require a proprietary disk image format.
The image format (of the photos) does not matter at this point, whether you are shooting in JPEG, CR2, NEF or any other format. Your first priority should be getting a sector by sector disk image of the entire card.
If you already ran chkdsk and the files on the card were converted to filennnn.chk files
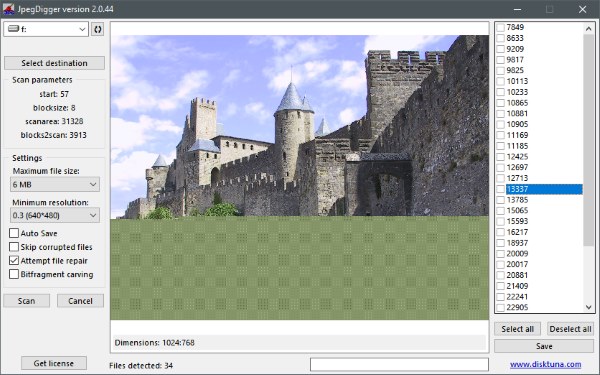
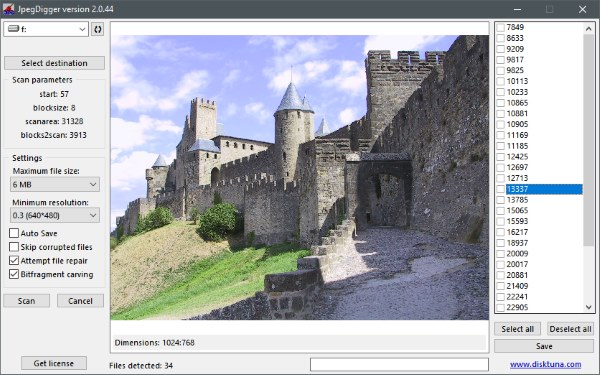
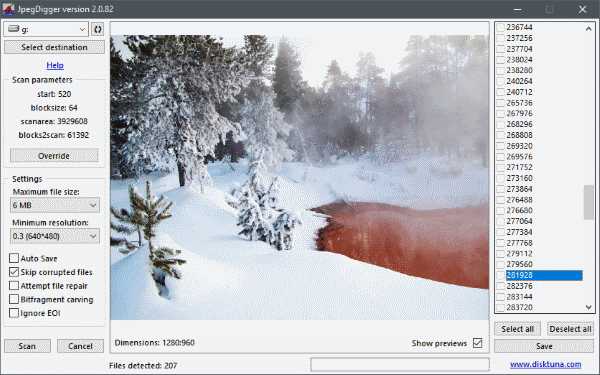
I still strongly advice to create a disk image file of the card! Then copy all files with the filennnn.chk format to a hard disk. Use JpegDigger (freeware) to examine and if possible extract JPEG files from the .chk files.
Photos on SD card are corrupt, what’s causing it:
There are two important factors to consider, the file system on the memory card and the actual content of your files. Both need to be right in order to be able to view your photos (or any other file). In general the file system on a memory card is either FAT32 or exFAT.
- File system needs to point correctly to all clusters allocated to any specific file
- The contents of the file need to be intact and un-corrupted
If a file system is severely corrupted you will not be able to actually see any of your files: Usually the type of file system is ‘RAW’. If you can actually see the files in file explorer, it is difficult to determine if whether the file system is corrupt (1), or the files themselves (2). Once you have created a disk image of the memory card it is safe to investigate.
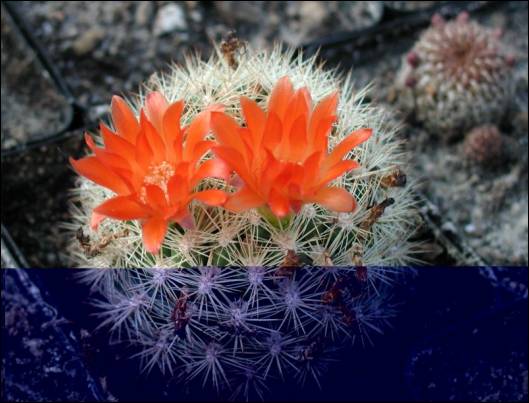
![Corrupt JPEG Header will most likely get you this ..]()
Corrupt JPEG Header will get you this ..
File system corrupt
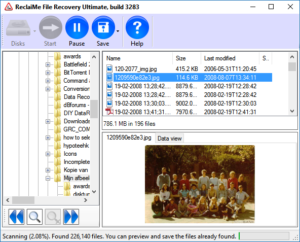
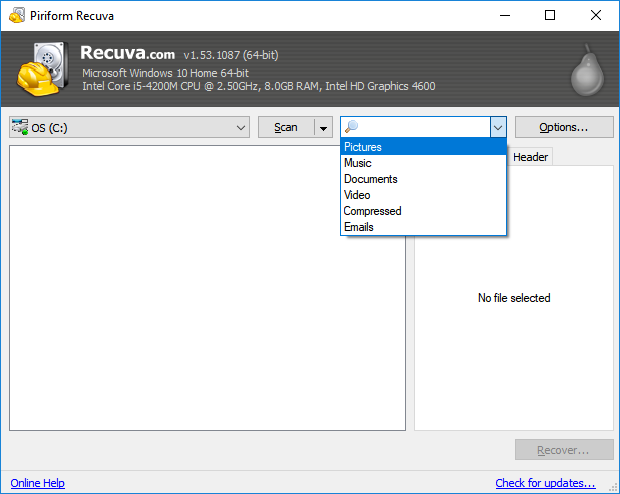
Option 1: File recovery / Photo recovery software
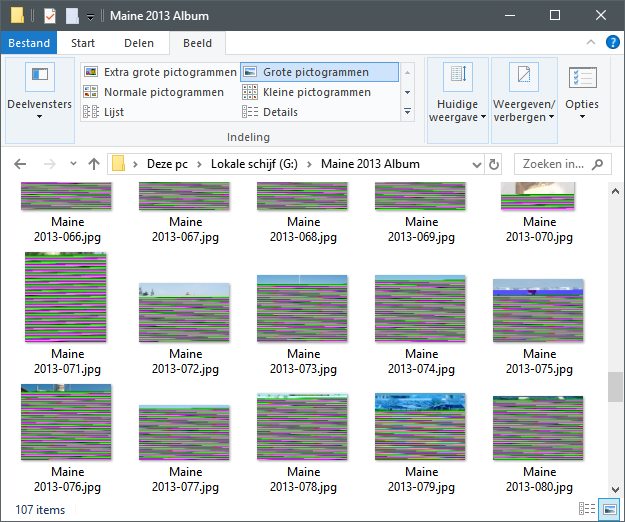
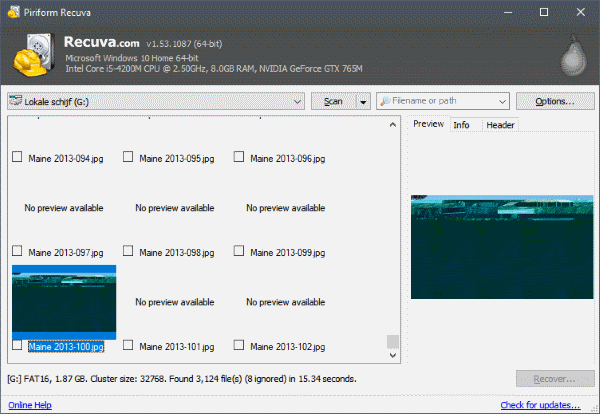
![Corrupt file system memory card: ALL photos are affected and corrupt!]()
Corrupt file system memory card: Virtually ALL photos are affected and corrupt!
If the corruption is limited to the file system you should be able to recover the files in general. The safest option is to run file recovery or photo recovery software. If you run this software against the disk image file of the memory card rather than the card itself, it may be slightly faster.
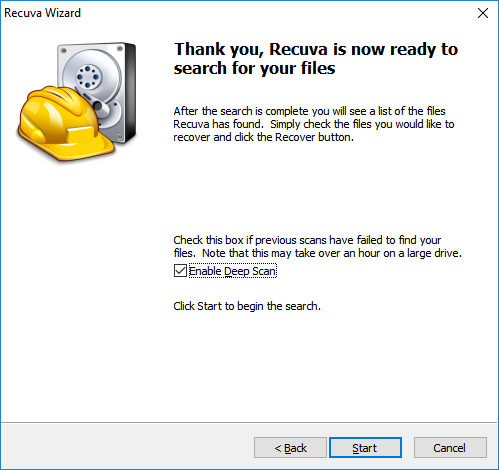
A major factor between success and failure is if the files are stored in contiguous blocks. If they are any decent file recover or photo recovery software will do. There is excellent freeware available such as PhotoRec. Personally I am not a fan of Recuva for reasons I will not get into right now.
If recovered files appear to be corrupt the issue may be related to file fragmentation: Typically if a photo is partially recovered, it is distorted after a specific point in the image (color banding, mis alligned) or a combination of several images. In this case you need to try something like JPEG Recovery LAB (JPEG, CR2, NEF are supported as well as AVI, MP4, MOV and MPEG-2 video formats). If photos are all in JPEG format you can use JpegDigger instead.
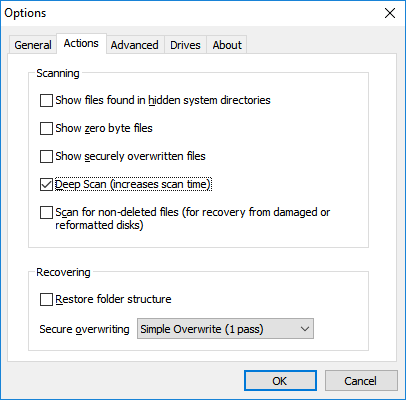
Option 2: Safe way to run chkdsk if photos on SD card are corrupt
Although I urged you not to run chkdsk before, there is a possibility to use chkdsk safely on a memory card! I will explain how, but before that:
As chkdsk will change the contents of your disk image, I suggest you work on a copy of this disk image file! After all, the disk image is your safety net.
Photo itself is corrupt
Files commonly start with a header, after which the actual file data follows. The header helps software interpreting the data within the file. If the header is intact, the software (image editors and viewers) can use it to decode the actual image data. Most likely you can not open the digital photo at all if the header is corrupt. If the image data itself is corrupt the image will open but look distorted.
For the rest of this article I will address JPEG only. If you shot your photos in a different format (like RAW) you may be able to use JpegDigger to extract JPEGs from those.
Special case: Photo corrupt after file recovery
This can be caused by file fragmentation. File recovery or photo recovery software is thus unable to determine the correct chain of clusters associated with a file. Again, in this case you need to try something like JPEG Recovery LAB.
Corrupt JPEG Header
Step 1:
Open the file in a hex editor (like the excellent freeware HxD). Verify there is actually data in the file. If the file only consists of zeros or a byte patters (like FF FF FF FF etc.) then the file is beyond repair.
Step 2:
Using HxD: Use Search > Find, search for FF DA using HEX data type. If not found the file is beyond repair.
![Find the last instance if FF DA using HxD]()
Find the last instance if FF DA using HxD
It is possible multiple instances of FF DA are found, you need the LAST one. There may be a few if the JPEG included a thumbnail and preview.
Note: If you find many FF DA byte combinations then you’re probably not looking at JPEG data but random binary data. The file then is probably beyond repair.
Write down the address (Using View > Offset base you can switch to decimal numbers if you like). Now search for FF D9. Or, go to end of the file which is where you’d normally find FF D9.
Once found, select the entire block including from the last FF DA upto and including FF D9 > right click > copy.
Open a new file > Paste Insert > Save as ‘image.jpg’. You have now copied the image data to a new file.
Open a known good file that was shot with the same camera, using same resolution and orientation (portrait/landscape).
Use Search > Find, search for FF DA using HEX data type.
![Search, set data type to Hex-values]()
Search, set data type to Hex-values
It is possible multiple instances of FF DA are found, you need the LAST one.
Select the block preceding the FF DA bytes all the way to the start of the file (FF D8)
Switch to your image.jpg file TAB containing the image data, make sure you’re at offset 0 (zero) > Paste Insert > Save the file
If damage was limited to the header you should now be able to open your file. Open and Save it using something like Paint.NET (free) to update the file thumbnail (if any).
Alternatives for repairing JPEGs:
Use photo repair software like Hetman File Repair or Stellar JPEG Repair. Or even better, DiskTuna’s JPGRepair.
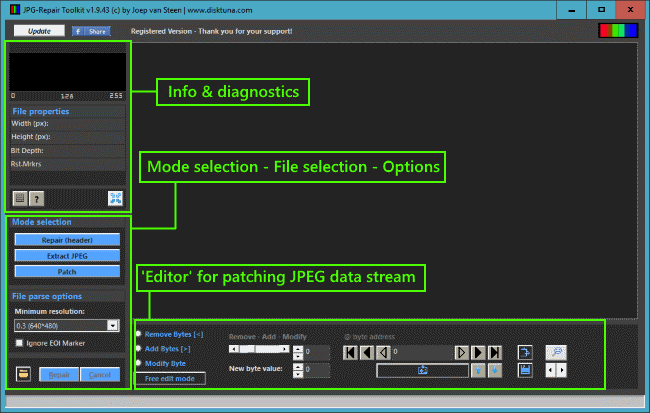
![JPG-Repair Toolkit will patch the header from an intact JPEG on a corrupted JPEG photo.]()
JPG-Repair Toolkit will patch the header from an intact JPEG on a corrupted JPEG photo and more ..
Apart from trying to fix the header this software also attempts to find embedded JPEGs. Often, this is all they can do if a header is too corrupt. A free alternative for extracting those JPEGs is JpegDigger.
Corrupt Image Bitstream
Here’s where it gets really complicated!
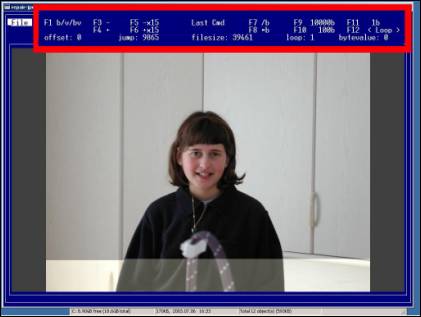
One of the things I initially used is JpegSnoop to find out where the JPEG decoder choked while decoding the image. JpegSnoop will give you the exact byte address. It is the easy way of finding invalid JPEG Markers.
![JpegSnoop can help you find invalid JPEG markers]()
JpegSnoop can help you find invalid JPEG markers
Once a JPEG decoder starts decoding the image bitstream it does so until it hits FF D9. FF has special meaning to decoders. It means a marker follows. In between FF DA and FF D9 there is only a limited number of JPEG markers ‘allowed’:
FF 00 (zero, zero) and FF Dn where n is a value from 0 to 7. Stripping anything that does not follow this rule or replacing FF XX where XX are arbitrary values by FF 00 should get you an image that decodes all the way.
Then you may be able to repair remaining damage or corruption using something like the freeware Repair-Jpeg. It allows you to realign the image and remove color bands etc..
If your image contained so called Restart Markers repair may be simply a matter of editing it with a tool like Paint.NET. Restart Markers prevent corruption propagating further into the image.
![This JPEG contains Restart Markers]()
This JPEG contains Restart Markers
Example:
This JPEG contains Restart Markers. All I did was strip invalid JPEG markers from the image bit stream. The free software used to repair this JPEG Photo is:
- JpegSnoop
- HxD hex editor
- Paint.NET
Note: I have now started working a utility to automate the above process + it will also automatically fix a JPEG containing restart markers like the example below.
This image can be found here (Kudos to Gracie for letting me use the photo!):
![Corrupt JPEG - bottom half is missing]()
Corrupt JPEG
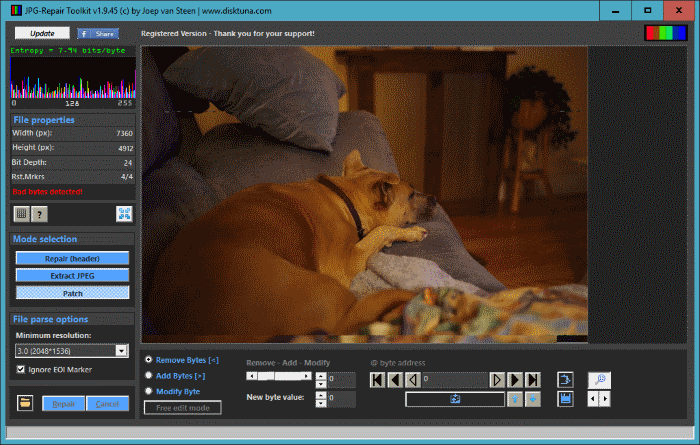
![Same image after removing invalid JPEG markers]()
Same image after removing invalid JPEG markers
![Same image after cutting lower part and clone stamping using Paint.NET]()
Same image after cutting lower part and clone stamping using Paint.NET
![Rather than removing all invalid JPEG markers using JpegSnoop and the HxD hex editor, JPG-Repair Toolkit can do this automatically. It 'knows' restart markers so it will leave those alone.]()
Rather than removing all invalid JPEG markers using JpegSnoop and the HxD hex editor, JPG-Repair Toolkit can do this automatically. It ‘knows’ restart markers so it will leave those alone.
Conclusion
It is often possible to repair corrupt digital photos yourself if photos on SD card are corrupt. It is often even possible with free tools as demonstrated in this post.
The post Photos on SD card are corrupt appeared first on JPEG Repair | Photo Recovery | File Recovery | Video Recovery.